


 Share
Share



ZN500131 Walbro diaphragm adjustment tool, 1 pc.


Walbro Carburetor Diaphragm Adjustment Tool ZN500131
This is an indispensable tool for optimally adjusting your carburetor.
Adjusting the height of the carburetor metering lever is one of the most important carburetor adjustments that ensures the amount of fuel/air supplied to the engine corresponds to the throttle valve metering. Due to pressure differences in the crankcase, diaphragm 1 is operated, which in turn operates the small metering lever 3, which then operates the small float 4 in the carburetor and allows the fuel to pass through.
Therefore, it is important that the path of these pressure differences from the crankcase to the carburetor is not disrupted; leaky cylinder base, insulator, and carburetor gaskets and oil seals are strictly forbidden! If your piston/piston ring/cylinder is unable to build up proper pressure differences (not enough compression), this is detrimental or even disastrous for proper carburetor operation, resulting in poor engine running/performance.
In all cases, a standard carburetor setting must always be maintained! Both the H and L needles should be 1-1/4 turns open, and the idle screw spring distance between the rings should be approximately 1 to 1.2 mm. If the idle screw is not set correctly, the values of the H and L needles can differ. Therefore, it is essential to get those settings right!
What does what?
- 1) A metering lever set too high causes it to hit the diaphragm too early, resulting in too much fuel going to the engine.
- 2) A metering lever set too low causes it to hit the diaphragm too late, resulting in too little fuel going to the engine. The Effect:
- 1) The carburetor cannot be properly adjusted and the engine struggles to respond to the throttle, effectively flooding (sputtering sound).
- 2) The carburetor cannot be properly adjusted and the engine struggles to respond to the throttle, receiving too little fuel (hollow sound).
Carburetor maintenance:
- Many think this is unnecessary, but practice shows that this is not true! Due to current E5 (5% ethanol) and E10 (10% ethanol) fuels, all rubber parts are affected and wear occurs, particularly in the carburetor. This is also the reason why diaphragms 1 and 2 should be checked and replaced with WA0706 or the ethanol-resistant WA0708 at regular intervals.
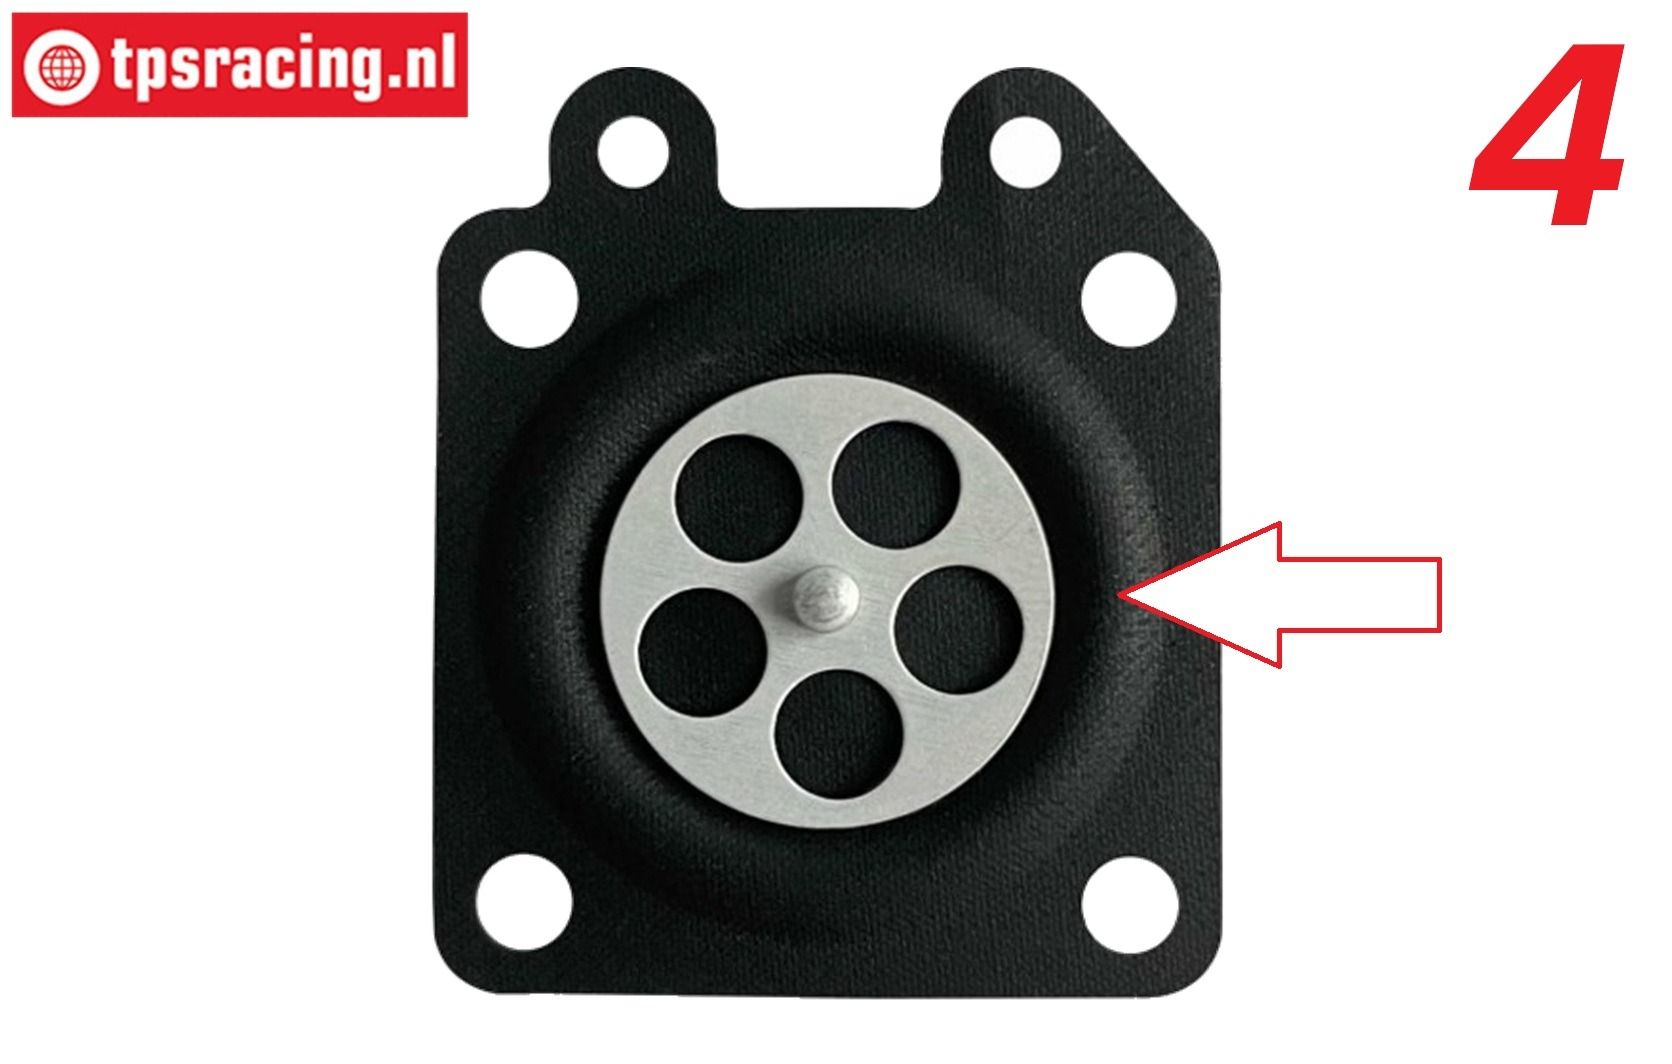
- In particular, diaphragm 1 must be able to move smoothly up and down; the convex curvature must be even and supple (see photo 4). The floater is also subject to wear due to the rubber tip; this must be smooth and without a ridge in the tip.
Adjustment:
- Remove the four screws on the pump side and remove the pump complete with diaphragm and gasket. Mount the gauge on the carburetor as shown in the accompanying photo 1. The diaphragm lever should just touch the tip of the tool but not move!
The lever does not touch the tool:
- So there is a gap between the lever and the tool: Then, using a small screwdriver, carefully bend the lever slightly upwards until the lever just touches the tip of the tool but does not move, see photo 2.
The lever does touch the tool:
- So the tool pushes the lever down: Then hold the back of the lever and push the lever down a small amount until it just touches the tool but does not move, see photo 3.
Suitable for:
- Fujiwara FKT3002
- Walbro WT603
- Walbro WT603BB
- Walbro WT668
- Walbro WT990
- Walbro WT997
- Walbro 1048
- Walbro WT1107
- Other Walbro or similar carburetors
More interesting products for you?


Validate your login
Sign In
Create an Account